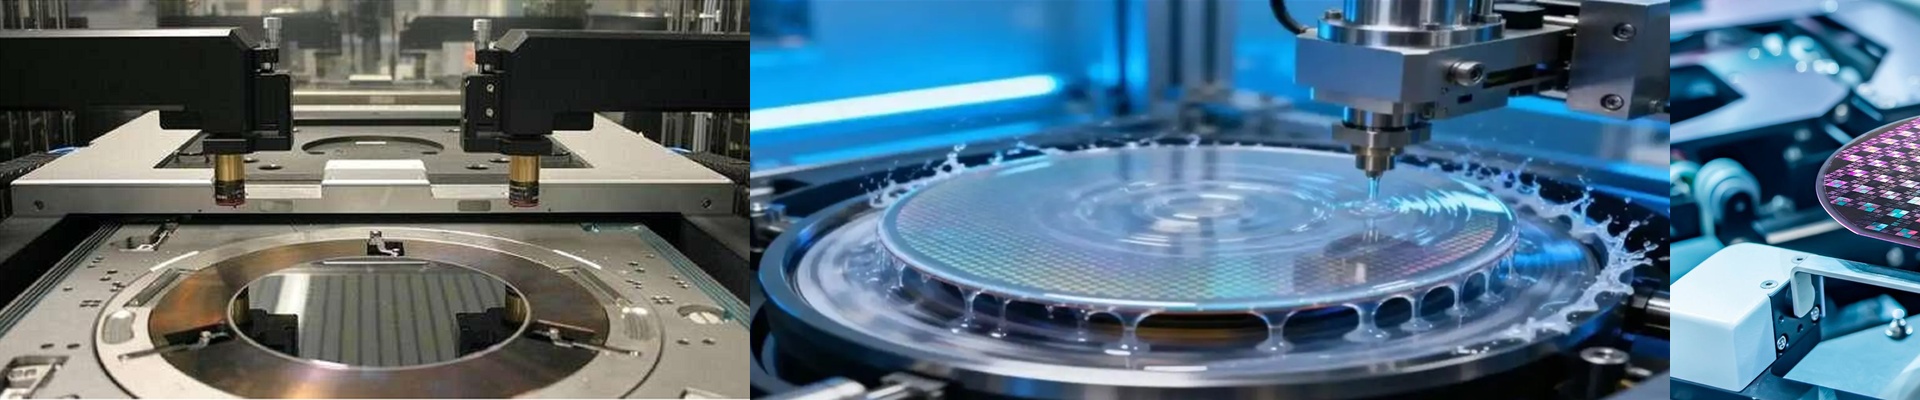
Drying MEMS Wafers Without the Headache
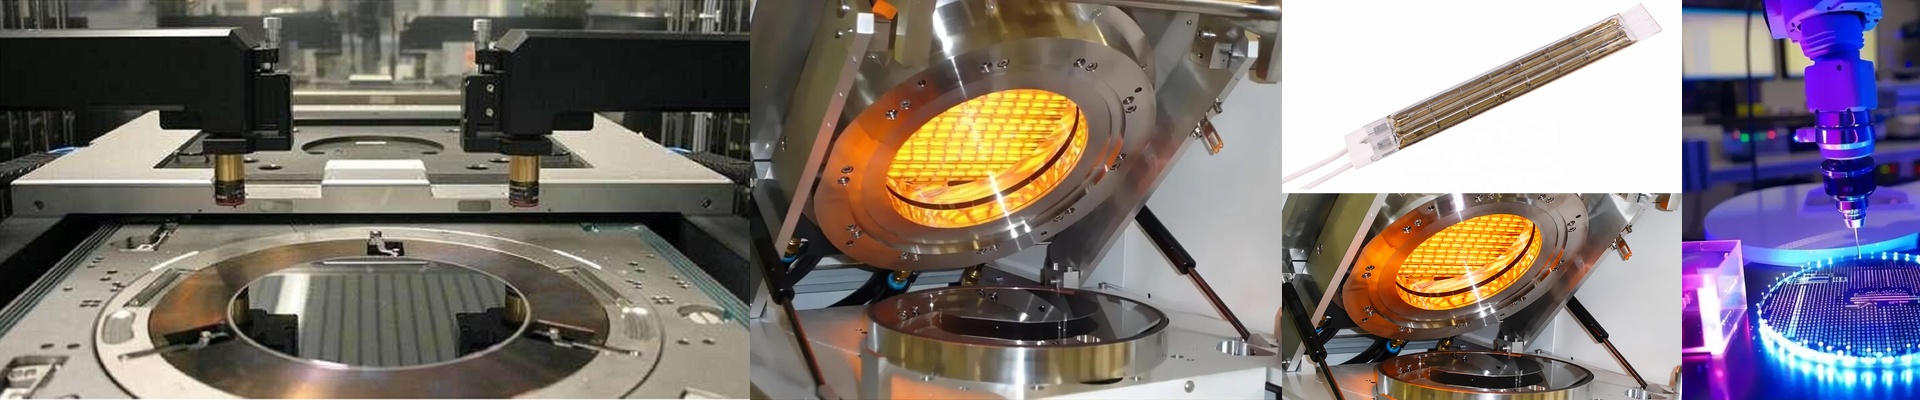
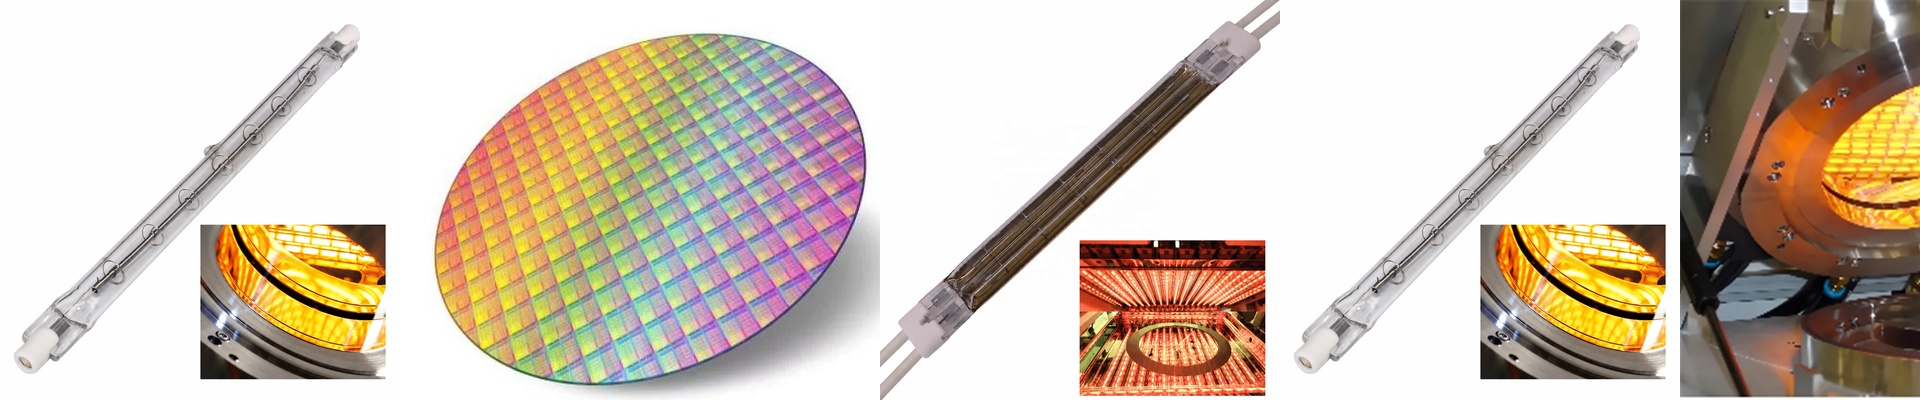
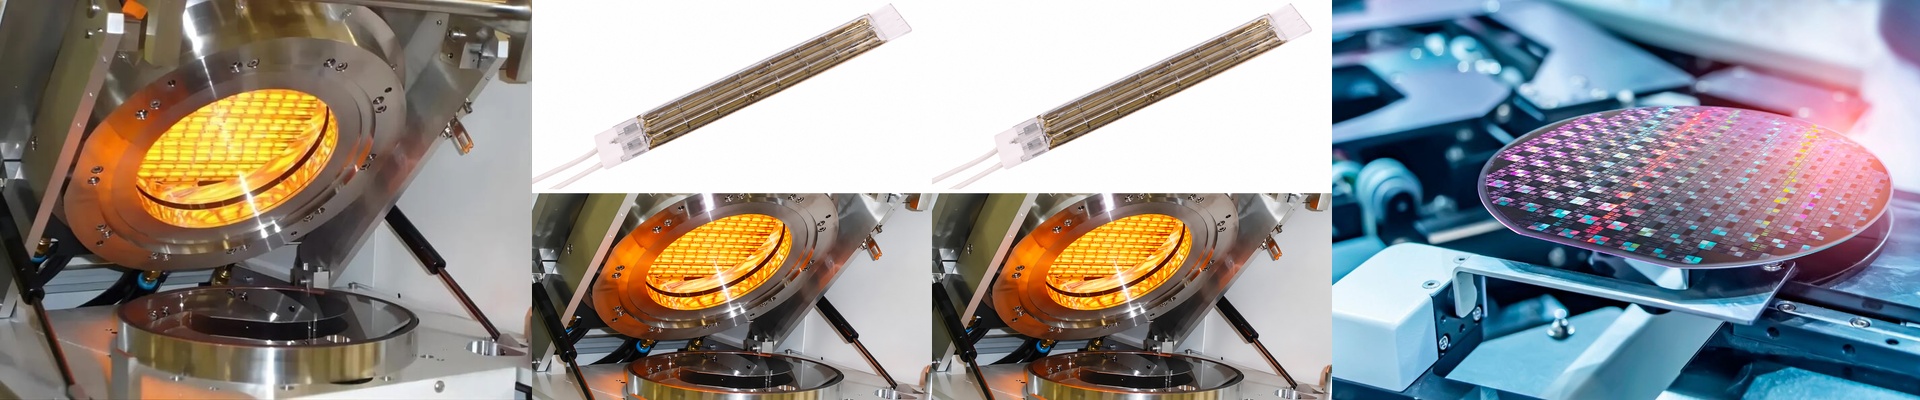
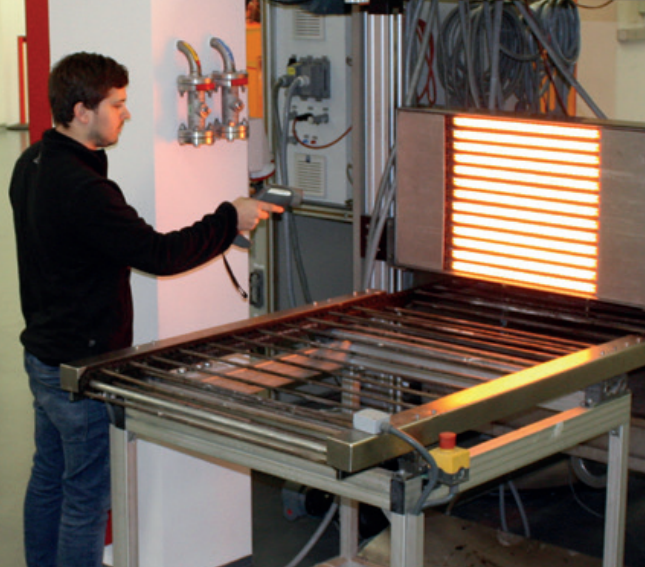
Drying MEMS sensor wafers is a bit of a tightrope walk. You need the water to vanish fast, but if you’re too aggressive, you’ll wreck those tiny, delicate micro-structures. Most people just blast the whole chamber with convection heat. It’s inefficient. You’re basically heating up the air and the walls just to get the wafer dry. We do things differently. We use directional infrared (IR) lamps. Instead of heating everything in the room, we point the energy straight at the wafer. Why bother with directional heat? Think about a standard heater. It throws heat in every direction—360 degrees of wasted energy. In a semiconductor tool, that means the inner walls get scorching hot. It’s a waste of power, and honestly, it’s a safety risk for whoever is operating the machine. We use short-wave IR lamps with reflective backings. It’s like using a flashlight instead of a lightbulb. All that energy hits the wafer, while the equipment walls stay cool to the touch. It’s a much cleaner way to work. The tricky part To get that quick dry, we usually go with high-wattage halogen quartz tubes. They get the temperature up fast. Really fast. But there’s a catch. Your power supply needs to be able to handle that initial surge of current. And you can’t just crank the wattage to the max to save a few seconds—you’ll end up with thermal shock. The real secret is the distance. If the lamp is too close, you get “hot spots” that can warp your sensor membranes. It’s all about finding that sweet spot. Making it work in the real world Because the heat is so focused, you don’t need those bulky, heavy insulation layers on the outside of the tool. This keeps the whole setup smaller and easier to manage. Plus, you can pair it with a PID controller so you don’t overshoot your target temperature. One quick tip: short-wave IR doesn’t behave like long-wave. It sinks into materials differently. You’ll want to double-check how your specific wafer absorbs the heat so you can get your ramp-up timing just right.